- JavaScript
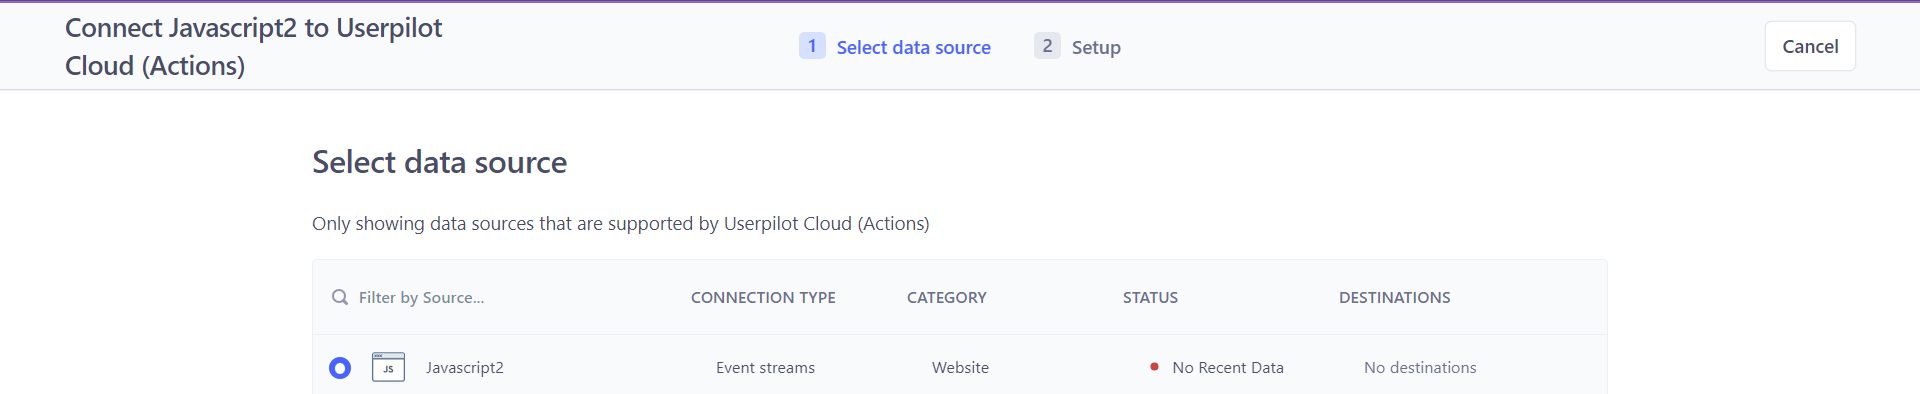
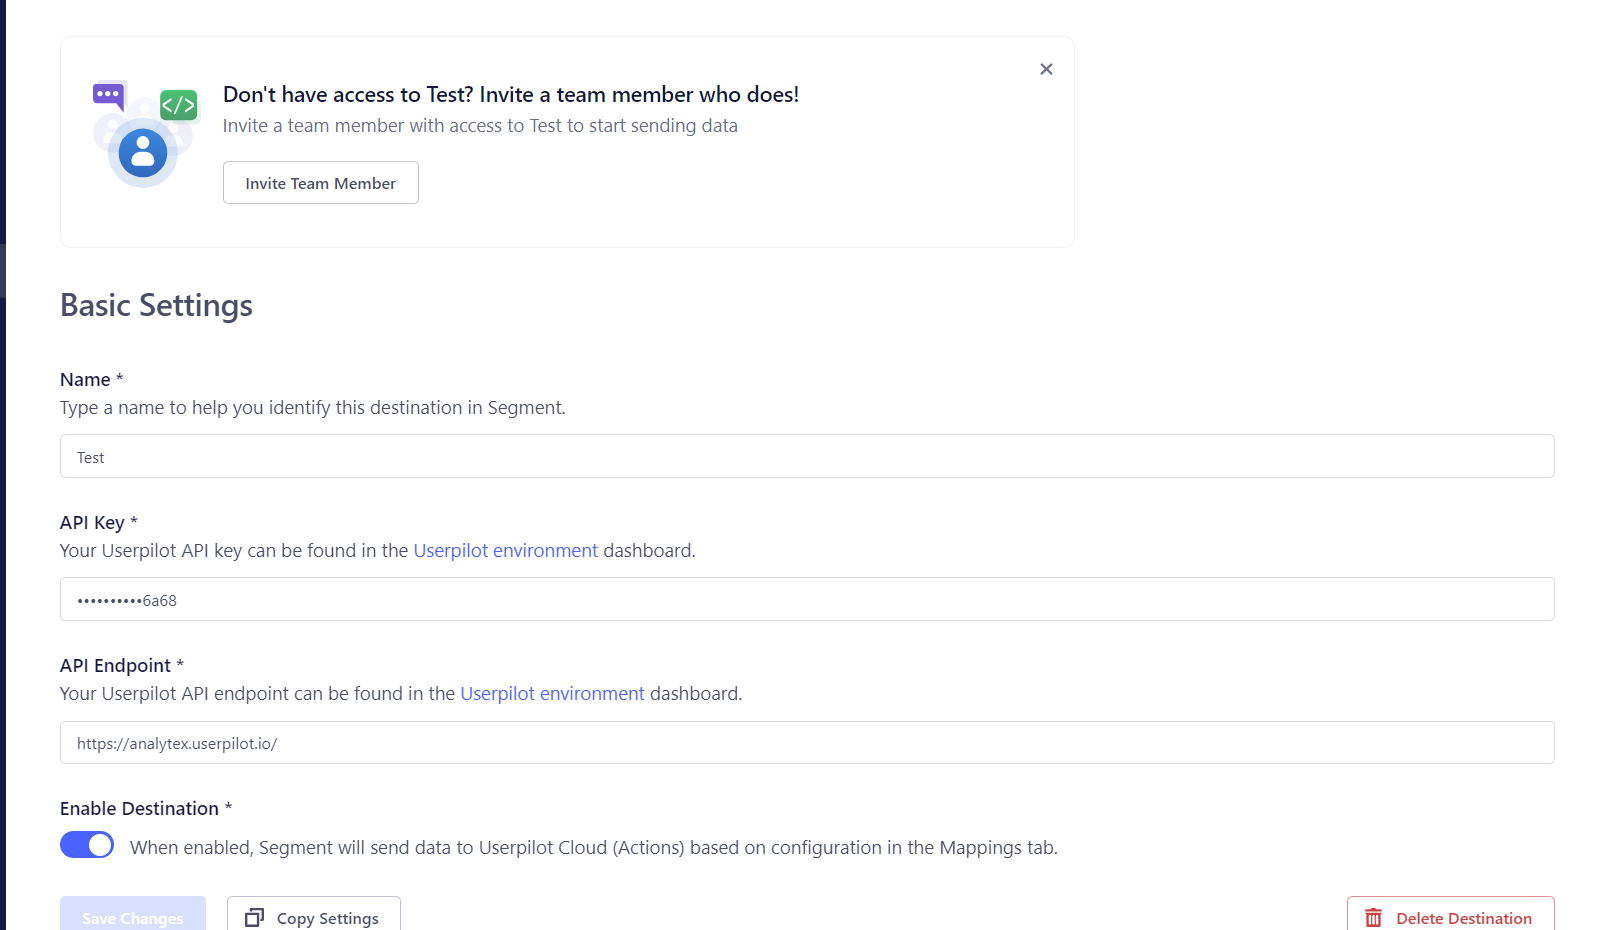
- Segment
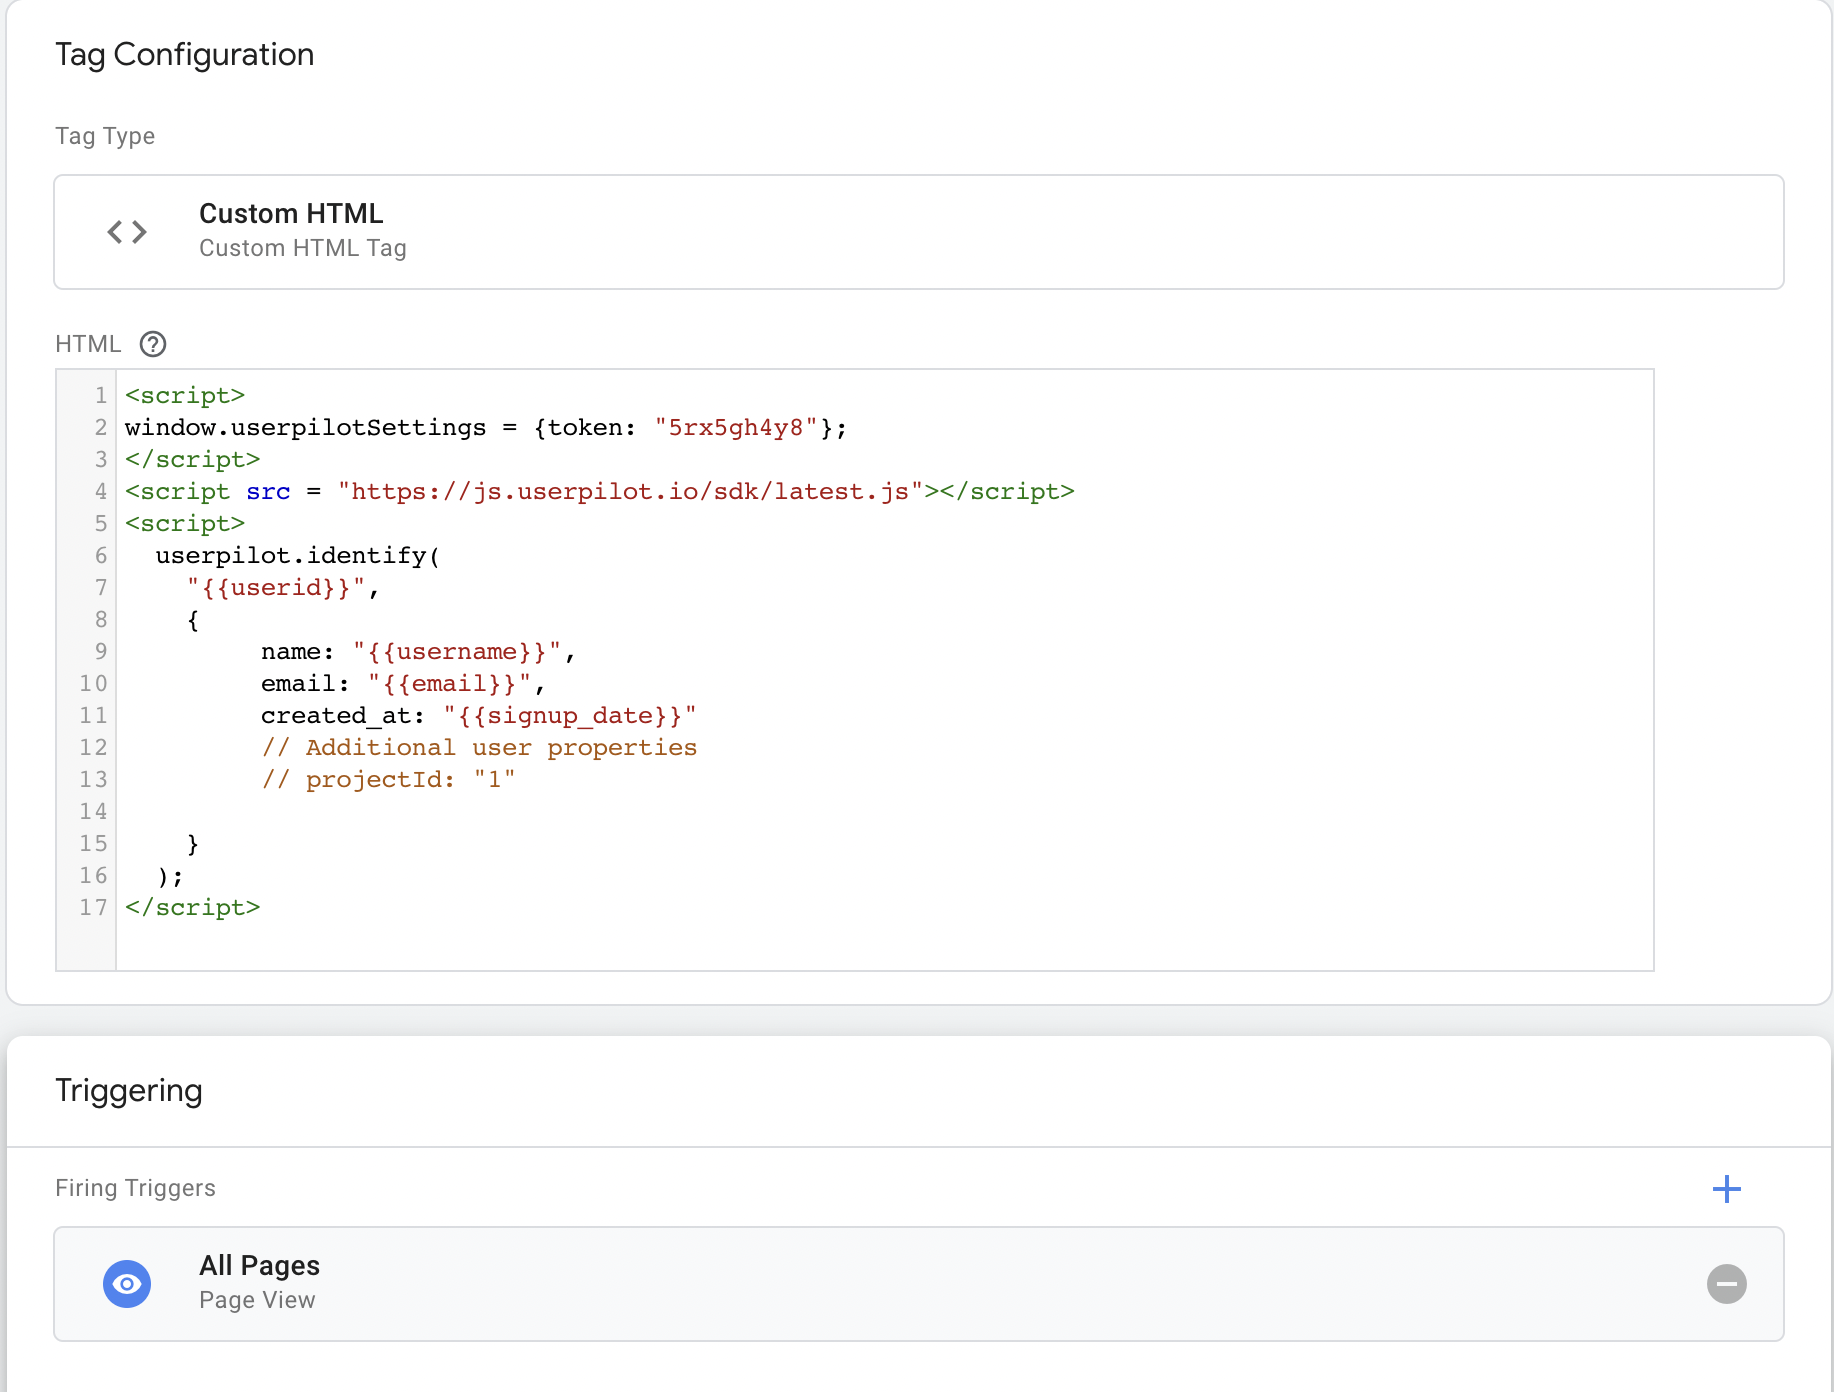
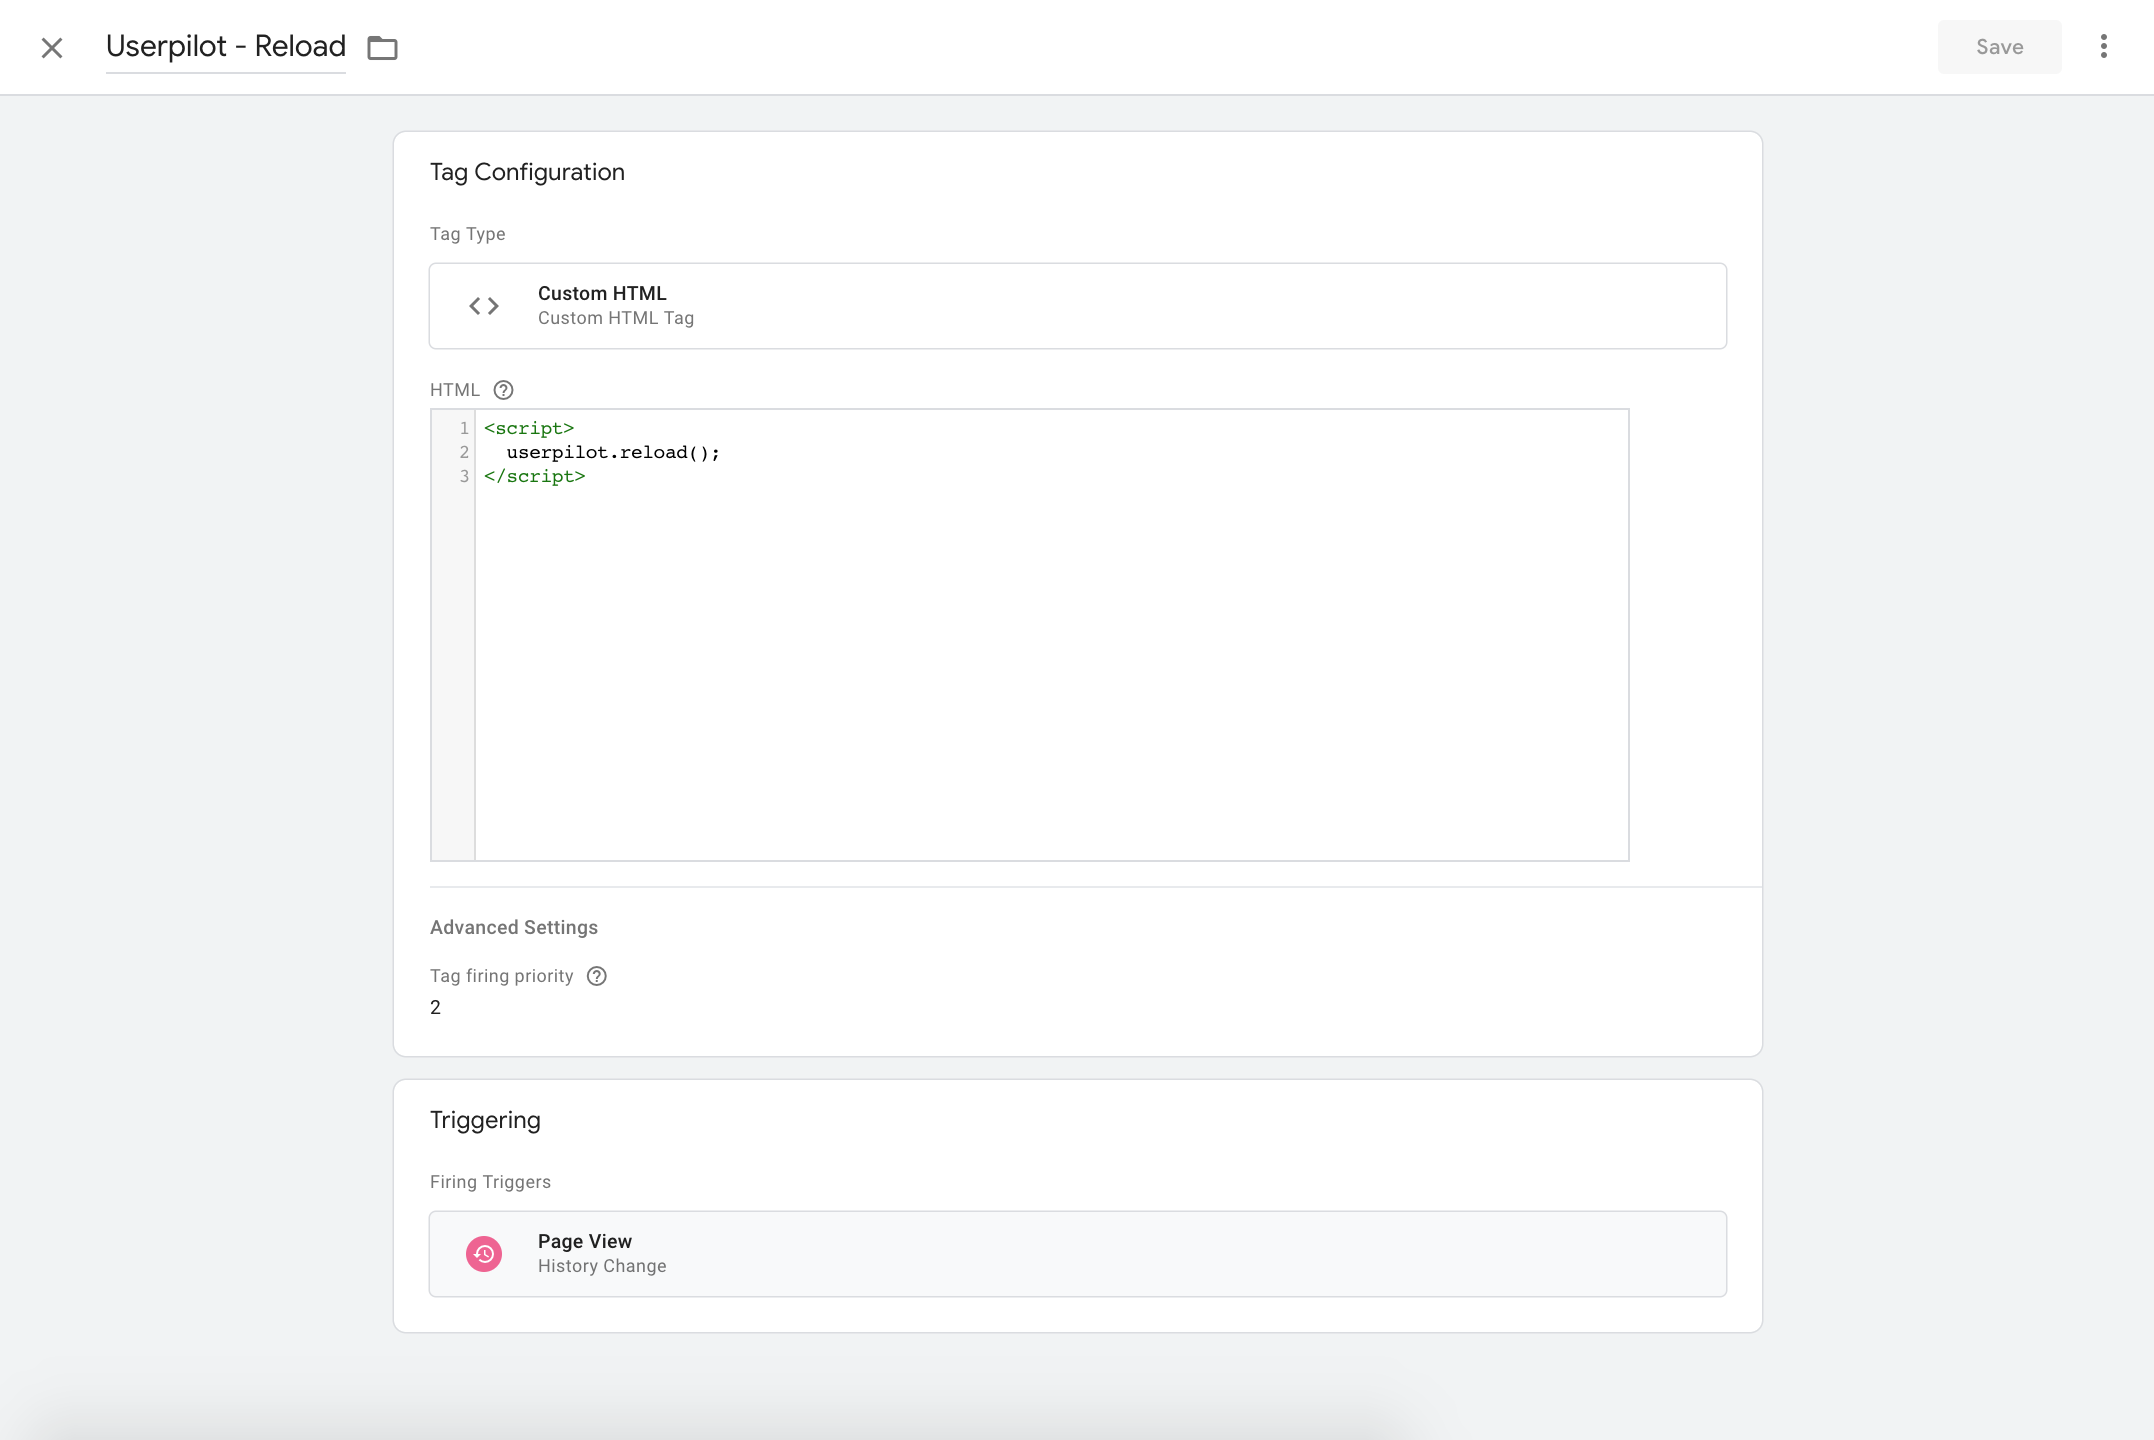
- Google Tag Manager
Step 1: Install JavaScript Snippet
Copy the snippet and paste it at the beginning of your
<head> section in your index.html file on every page you want to use Userpilot.Your App Token can be found under the Environment tab .Step 2: Identify Users
The user ID (a unique identifier) is required. Additional user and company properties can also be included in the script.
- Multi-page Applications
userpilot.identify() call is used on each page to identify the user and determine if they should see Userpilot content.- Single page Applications
localStorage.get("token") is an example method of authentication.Step 3: Reload Userpilot on Page Change
Userpilot must be reloaded on every route change through Userpilot’s reload function. In the following example, we call the reload function in the route change watcher file (in our case it is auth.guard.ts).The following is an example of how Userpilot’s identify function is called in the app’s entry point only when the user is successfully authenticated.
Step 4: Sending Tracked Events
Sending coded events to Userpilot is recommended to utilize the events in reports, in-app triggering, and segmenting users.Use the
userpilot.track() call to track actions users take in your application.If you use an analytics tool (e.g. Mixpanel, Amplitude, Hotjar, FullStory, Google Analytics) add theuserpilot.track() wherever you’re already tracking events. You can also pass extra metadata alongside the event’s name to pass unique information about the event.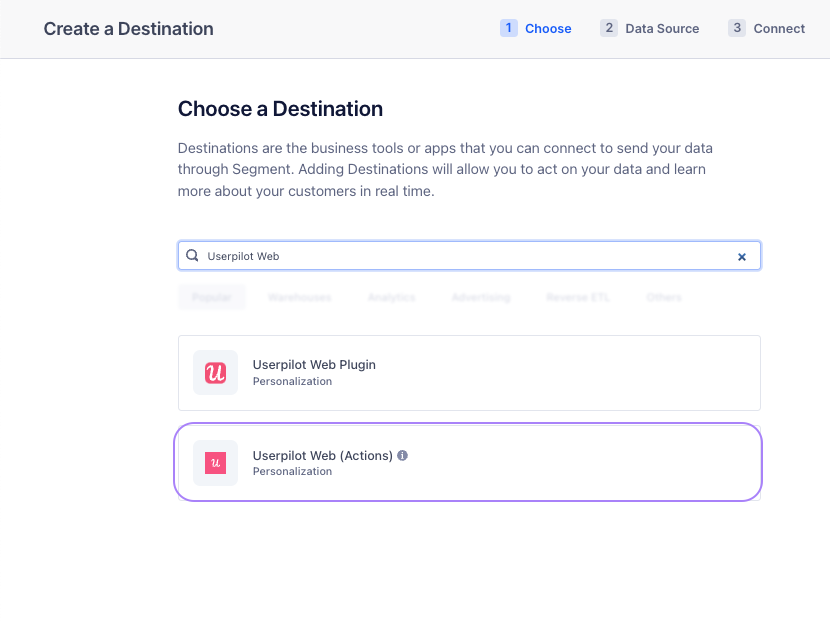

Prerequisites
- Access to your web application’s codebase (for JavaScript) or GTM/Segment account
- Your Userpilot App Token from Settings > Environment
- User authentication system to provide unique user IDs
Expected Result
After successful installation:- Userpilot SDK loads on your pages (check for
window.userpilotin console) - Users appear in People after
identify()is called - You can create and display flows to identified users
Common Issues
| Symptom | Cause | Solution |
|---|---|---|
userpilot is not defined | SDK not loaded | Verify script is in <head>, check for CSP blocks |
| Content not showing | User not identified | Ensure identify() is called before content triggers |
| SPA navigation issues | Missing reload() | Call userpilot.reload() on every route change |
| Ad blocker interference | Third-party domain blocked | Consider custom domain hosting |
Related
- SDK API Reference - Full SDK method documentation
- Production vs Staging - Environment setup
- Content Security Policy - CSP configuration
- Troubleshooting - Installation issues